
Turn One Image Into a Ready-to-Post Pinterest Pin
A step-by-step walkthrough for going from a single photo to a polished vertical pin you can publish today.
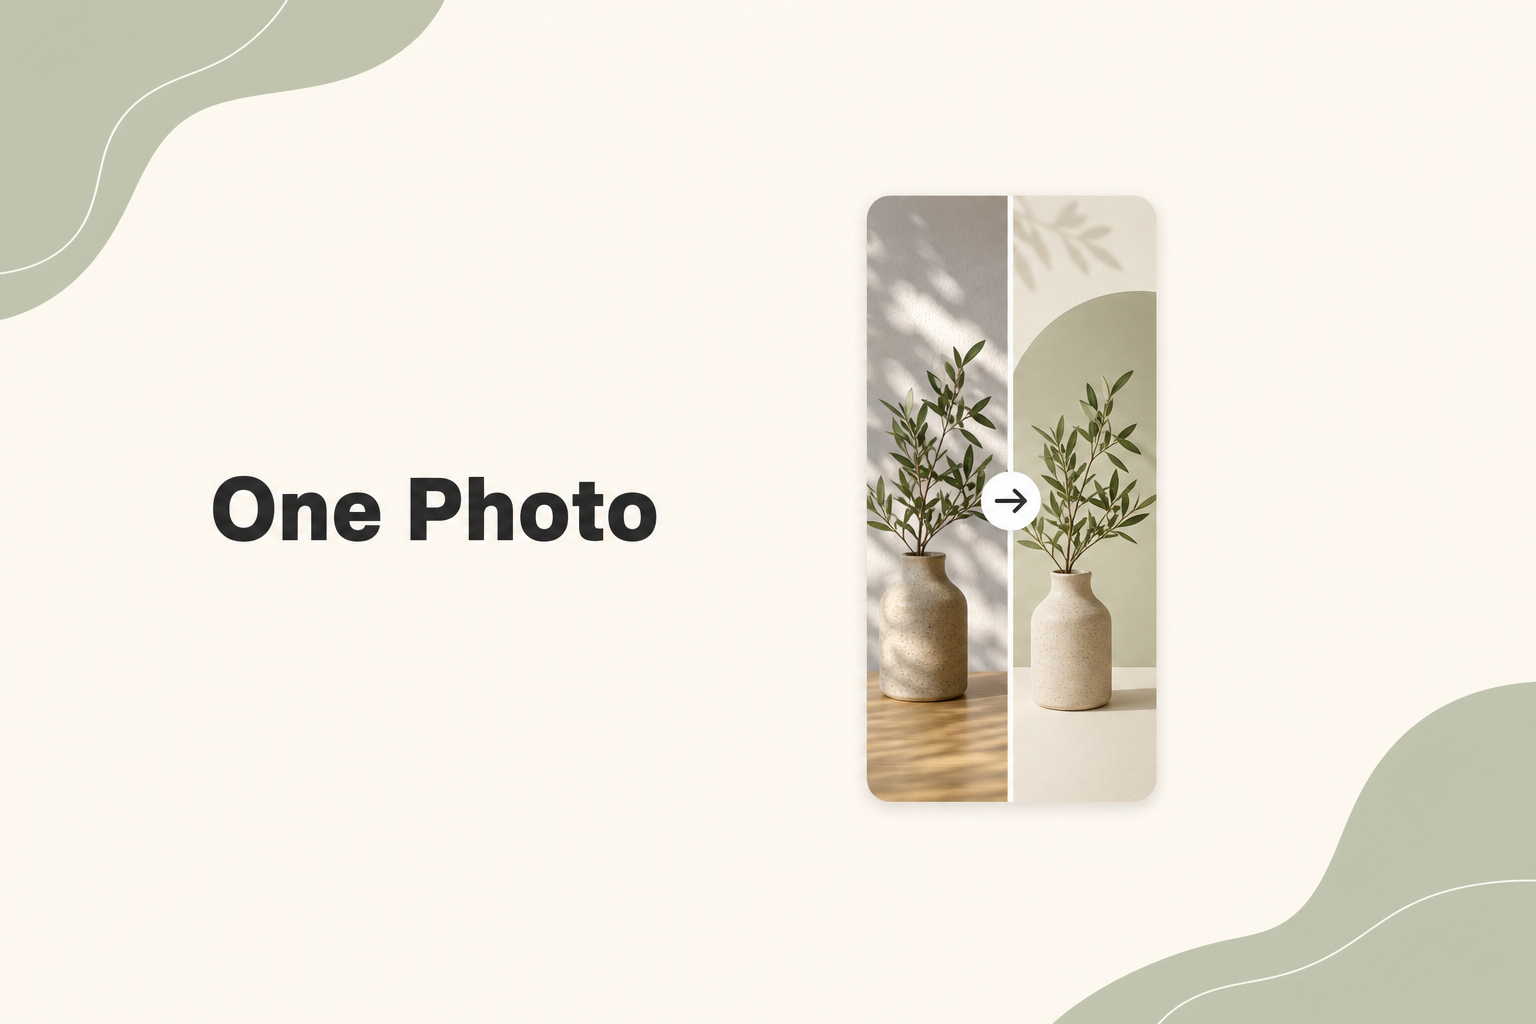
You do not need a full design suite to publish a strong Pinterest pin. With one good source image and a focused workflow, you can go from raw photo to finished pin in minutes.
Start with the right source image
Pick a photo with a clear subject and enough contrast. Pinterest pins are small in the feed, so busy backgrounds and low-contrast shots disappear quickly. A single focal point — a dish, a product, a person — gives you the strongest starting point.
Choose a vertical format
Pinterest favors tall pins. Aim for a 2:3 aspect ratio (for example 1000 × 1500 px). Vertical layouts take up more screen space in the home feed, which means more time in front of your audience.
Add a readable headline
Your pin image should communicate the topic at a glance. Add a short, bold headline overlay — six words or fewer works best. Use high contrast between text and background so the title stays legible even at thumbnail size.
Preview before you publish
Always check your pin at the size it will appear in the feed. Squint at it: can you read the headline? Does the subject stand out? If something feels off, adjust spacing or crop before exporting.
Export and pin it
Once the composition feels right, export at full resolution and upload to Pinterest. Add a keyword-rich title and description, link to the relevant page on your site, and choose a board that matches the topic.
Pro tip: If you are testing ideas, generate a few variations from the same source image. Small changes to crop, headline, or color can meaningfully shift click-through rates.
Ready to create your pin? Try the Pixlory Pinterest pin generator — upload a photo and get a vertical pin in minutes.
Related posts
5 Common Pinterest Pin Mistakes (And How to Fix Them)
The design and strategy errors that kill pin performance, with quick fixes for each one.
The Complete Guide to Pinterest Pin Templates
How to build reusable templates that keep your feed cohesive and cut design time in half.
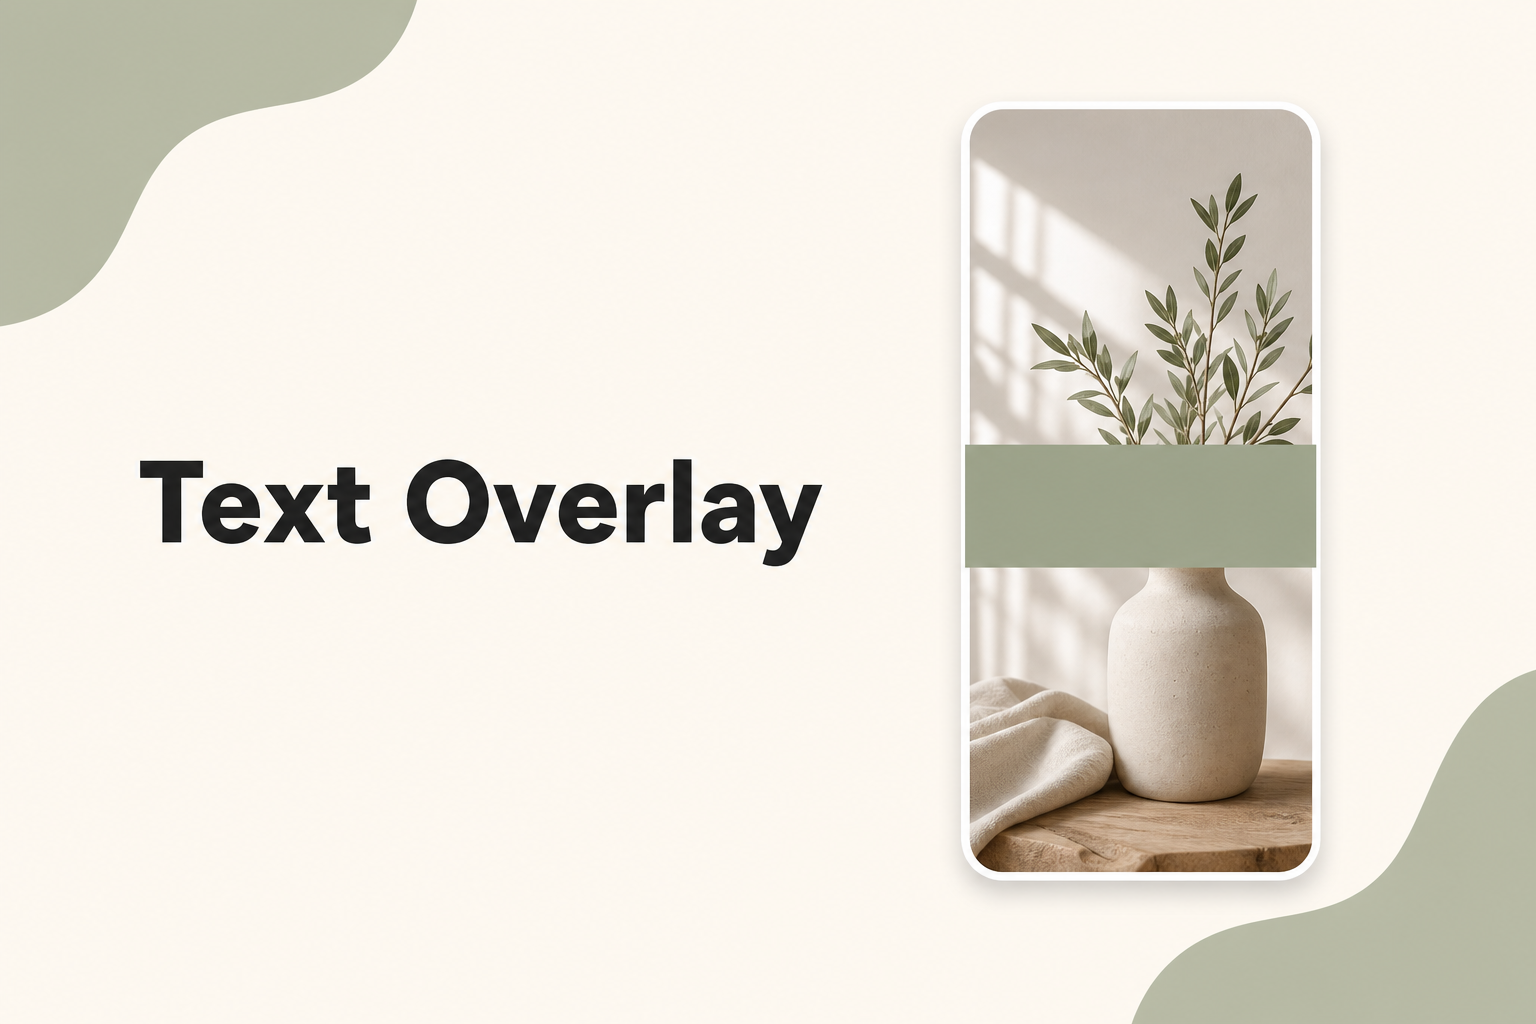
Text Overlays on Pinterest Pins — What Works and What Doesn't
Font choices, placement rules, and headline formulas for pins that communicate instantly.